12 · Planning and tools

Shark-Tooth Mount

Holds a panel across the wall–ceiling edge on both long edges, and lets it seal. Printed teeth on the ceiling, the wall and the panel, printed rods through them; at the bottom it is also a hinge.

fits
edge panels 400–1200 long, 400–900 across, wool 60–200 mm
sized
teeth, screws, rods and joints from the panel's weight and your wall
jig
printed corner head, aluminium bars cut square, steel bushings
package
print files for your printer, lists, manual
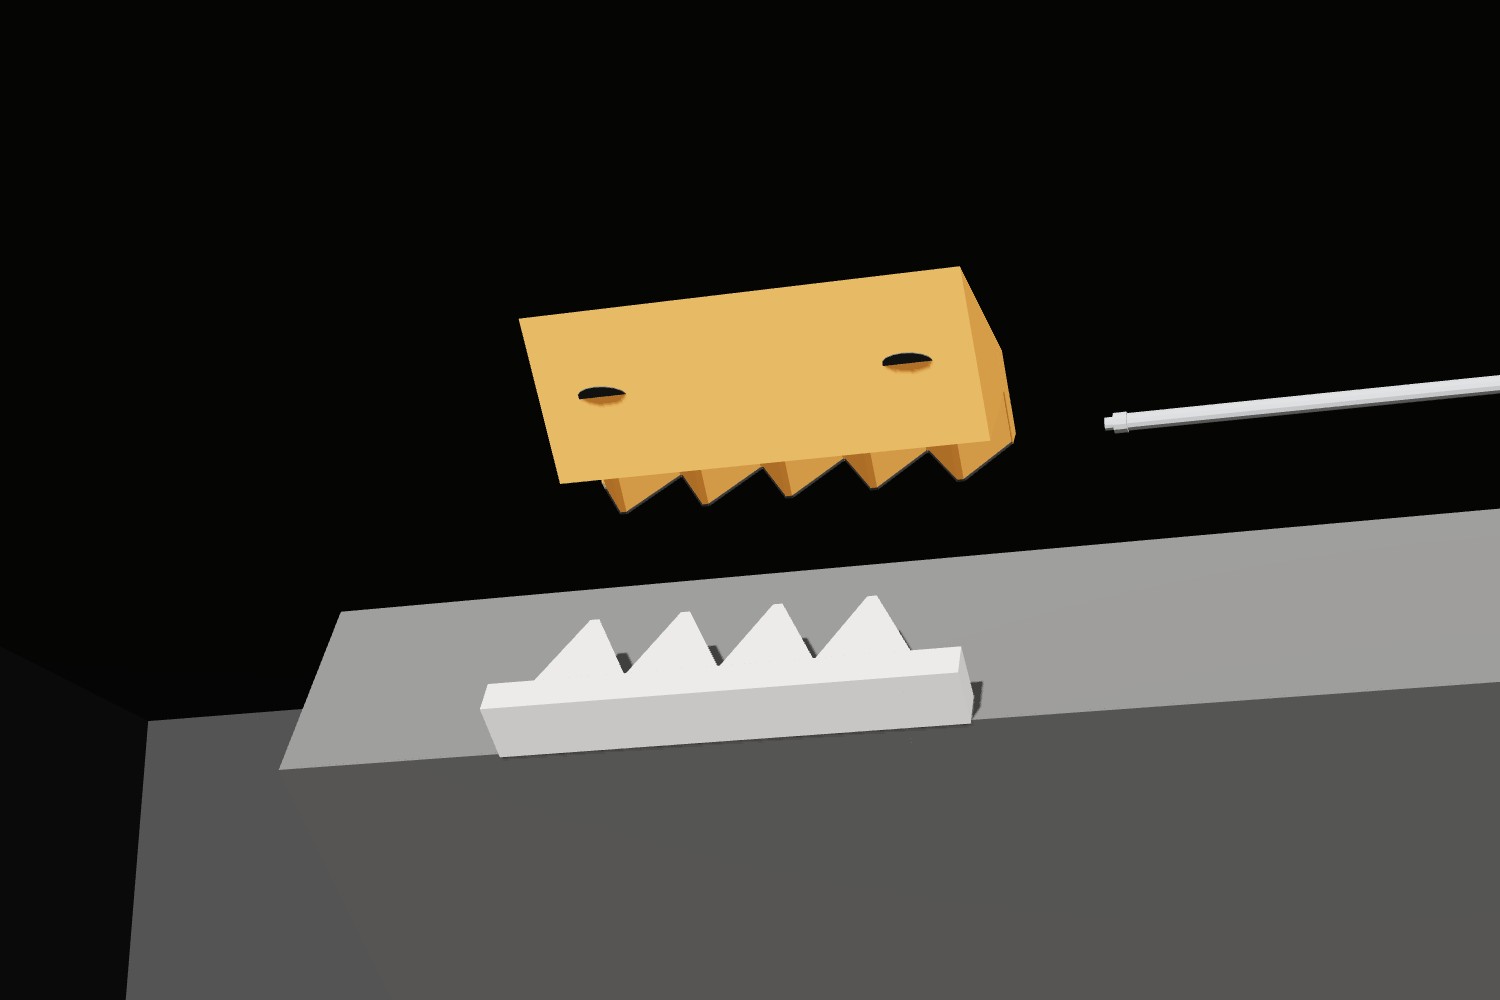
An edge panel resting open on its hinge, the shark-tooth pieces on the ceiling and the wall

Overview

How it works

Holds a panel across the wall–ceiling edge on both long edges and lets it seal. Everything in it is printed, except the screws, and it is sized for you from the panel's weight, its size and what your wall is made of.

In the wedge between the ceiling (or the wall) and the panel's long side sits a printed piece with triangular teeth pointing to the room. A matching piece screwed to the panel's side has teeth pointing to the corner. Pushed together, the teeth go in between each other, like shark teeth; the triangles centre the panel by themselves. A printed rod goes through every tooth and locks them.

The bottom joint is a hinge

Its rods are the axis. Set the panel's bottom edge on the wall pieces, push the rods in, and the panel rests on its own, tilted, on a built-in stop (about 17°). Swing it up into the corner, the top teeth go in, push the top rods. The axis stands in front of the panel's bottom edge, so swinging it up presses both seals, like a seesaw.

Exact without measuring

A printed drilling jig sits in the corner and carries the drilling heads on two aluminium bars cut square to the length the page works out. The pieces' holes are 11 mm under wide washers: the panel itself sets them exactly through the teeth and the rods, then the screws are tightened through holes in the pieces' fronts.

Sealed

A rubber profile on the panel's back corners; the pieces stay 35 mm off the corner, so silicone can follow the whole corner line, also behind them, with an extension nozzle.

The top joint in section: the ceiling, the panel's top edge, the fixed piece with its teeth, the panel piece, the rod, the seal and the silicone ceilingpanel (frame + wool) fixed piece panel piece rod Ø8 sealsilicone screw
The top joint in section. The fixed piece fills the wedge; the panel piece and its teeth go in under it; the rod locks both; the seal and the silicone stay free in the corner.

Figures

Sizes and numbers

PanelWeightJointsTeethScrews, concreteScrews, plasterboardJig bars
1200 × 600, wool 100, hybrid≈ 11 kg2 + 25 + 4, 200 mm2 ceiling / 2 wall2 / 7 (studs)503 / 506 mm
1200 × 900, wool 150, hybrid≈ 20 kg2 + 26 + 5, 240 mm2 / 32 / 10 (studs)768 / 777 mm
800 × 450, wool 100≈ 6 kg2 + 25 + 4, 200 mm2 / 22 / 3397 / 400 mm

Calculated, not measured

The wall pieces carry most while you mount the panel: it rests on the stop and leans out. In plasterboard that needs more screws than fit on a piece, so the page tells you to screw into the studs or put a board behind. Forces calculated, not measured.

Safety

Hold the panel until the bottom rods are in. Safety information →

Build

Details

  • 01Panels 400–1200 mm long, 400–900 across, wool 60–200 mm; one joint top and bottom up to 750 mm long, two from 800 mm.
  • 02Printed in PETG or ASA, 5 walls, 25 % infill, no supports: rod holes 8.4 mm as teardrops, the rod Ø8 with a pull ring and a split barb that clicks past the last tooth.
  • 03The package. print files for your printer (the pieces, the rods and the drilling jig), hardware and jig lists, an assembly manual.